Dear Heart…and Inked Tiles
Dear Heart….
I can’t believe my crazy life! God has me going and going and going and at times i feel just like the energizer bunny! I know that God has me in this place to help me grow and so that i rely on Him even more and I just LOVE it. It feels like I’m standing in the middle of the most beautiful storm, with arms wide open, completely unafraid.
Since starting this part time job with the Church, I do miss connections and friendships. Sitting over a glass of wine or a warm cup of coffee, pouring out my heart (to my sweet blog friends or to my dear friends here at home) But again, I have to say that it makes me depend on the friendship of the Lord even more. He is so dear and faithful to me and He truly fills me up. I have been called to give up many things that i love and it has not been easy. I do watch in awe as the Lord takes away and gives much more.
Recently i have decided to change my view of this blog. I want to get back to the heart of why i write this blog and as much as i enjoy every comment and follower, that is not why I blog. I blog to share my heart, to remember my journey. I have to admit that at times I have lost my way and thought more about gaining followers and less about why i’m here. I’m going to try my best to remember not to do that and honor myself by beginning each post as DEAR HEART… so for any readers that I’m blessed by, just know that this is a real journey and you have an open invitation to ride along .
Whew… felt good to get that off my chest!!!
I love the workshops i have been doing. I love the women that take my workshops, I love teaching and I love the challenge! My town has been very supportive in marketing my workshops and providing me a great venue to teach mixed media. I can’t believe i have been doing these workshops for 3 years now and although it has been lots of work for little pay, I LOVE IT! I can’t believe that my town recently featured me as Fishers Artist of the Month. I have even been invited to join the Fishers Arts Council and feel like this is a great opportunity to tap into the beat of my large town and be part of the growth we are experiencing. I’m just so excited!!
My dream is to host a retreat here in my town and travel the country, dare i say world Lord?, giving these mixed media workshops…not sure what God has planned for me but He has surely Blessed me as He keeps sending people that want to explore their creative spirit. The more I put the Lord first, the more fruit He provides me. I have to continue to let Him lead and allow Him to carry me because it is ALL ABOUT HIM!
I work on the curriculum for my workshops a lot which is not my favorite, but i have seen first hand what happens if I don’t put my whole self into it. It’s hard because I have rarely given the same workshop twice. With over 50 workshops given i’m wondering how long i can maintain this… i’ll stop when it isn’t fun anymore i suppose.
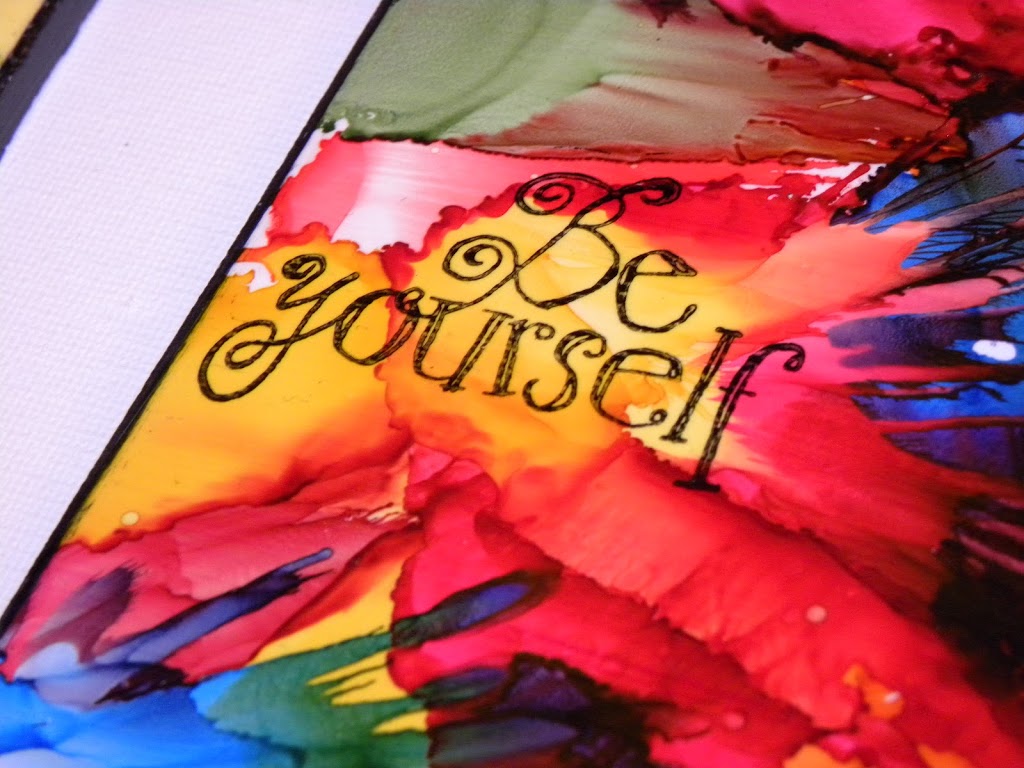
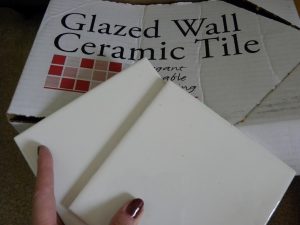
I want to remember this workshop “Inked Tiles” in particular because it is FUN, EASY, and good for all levels. (plus I promised this to my awesome blog friends who have been VERY patient with me. I may be slow but i keep my promises and this promise has been nagging me for months!)
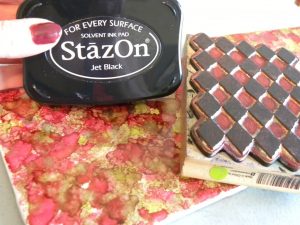
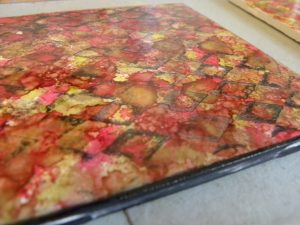
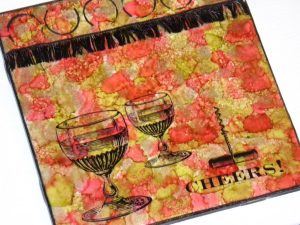
Details-12 women participated and cost of workshop was $35 . Artists took home 3 tiles! I set up stations for each of the three techniques i demonstrated.
 |
|
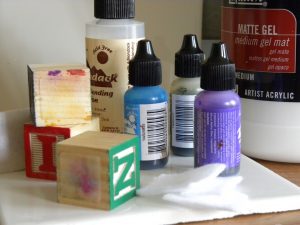
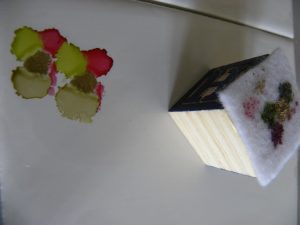
-Prep your tile by squeezing a squirt of Blending Solution onto blending tool and rubbing over the entire tile surface
|
